Relight and Recolor Portraits with AI
How to rescue a portrait shot in bad light, the relighting looks worth knowing, and how to color grade without turning skin plastic.
 Bylo AI Team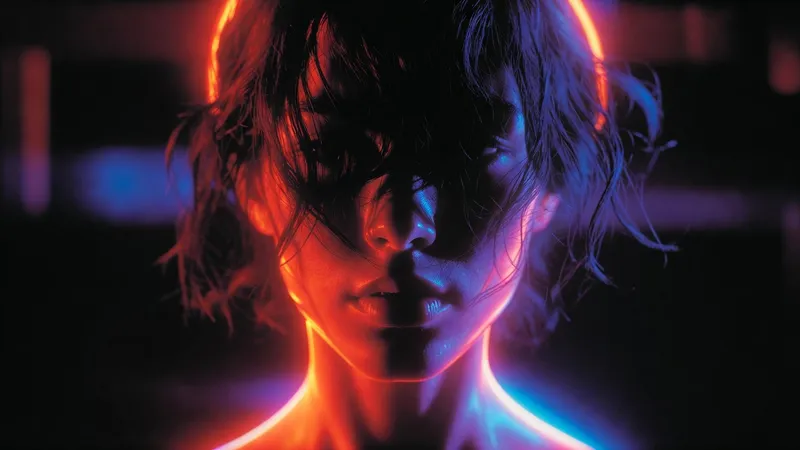
Light does more for a portrait than any other single factor. It shapes the face, sets the mood, and decides whether the subject separates from the background or dissolves into it. A great expression in bad light beats a flat expression in good light, which is why relighting is worth learning.
The four problems worth fixing
- Underexposure on the face. The background is fine and the subject is two stops too dark.
- Harsh shadows. A hard line under the nose or across the eye socket, usually from a single overhead light.
- A color cast. Mixed lighting — window light plus a warm bulb — leaves half the face green and half orange.
- Flat overhead light. Office and school lighting that removes all form from the face.
Each one responds differently. Underexposure is a tone problem, harsh shadows are a softness problem, a cast is a color problem, and flat light is a direction problem. Diagnose first, then ask for a specific fix.
Relighting looks to know
- Soft window light. Gentle, directional, slightly cool. Natural and calm. Best for everyday portraits and professional profiles.
- Golden hour. Warm, low, and forgiving. Ambient and romantic. Best for couples and outdoor sessions.
- Studio rim light. A controlled key with a bright edge separating the subject from the background. Confident and dramatic. Best for editorial and musician shots.
- Neon night. Strong color from two sides, one cool and one warm. Moody and cinematic. Best for creative and urban portraits.
How to ask for a relight
Name four things and the result becomes predictable:
- The light source — window, softbox, street sign, sunset.
- Its direction — from the left, behind, slightly above.
- Its softness — soft and diffused, or hard and defined.
- The mood — calm, dramatic, clinical, nostalgic.
Then decide whether the background stays. If you change the light to a warm sunset, a cold blue office behind the subject will look pasted. Change both together or neither.
Grading color without wrecking skin
Skin is the hardest thing to grade because everyone notices when it is wrong. Work in this order:
- Set the overall temperature first — slightly warm or slightly cool.
- Adjust contrast and the black point next, so shadows have depth without clipping.
- Protect the highlights. Blown skin loses all texture and reads as digital.
- Treat skin last, and treat it minimally.
A useful trick is to compare the graded result with the original at the same crop. Skin that looked warm in isolation often turns out orange next to the reference.
Protecting identity and texture
Relighting can quietly soften a face into a different person. Guard against it:
- Avoid aggressive smoothing. Keep pores, freckles, and fine lines.
- Check the eyes. Catchlights should be consistent with the new light direction.
- Check the hairline and the neck, where edits often stop abruptly.
- Compare the jawline and the nose against the original before you export.
A workflow that saves time
- Pick the shot with the best expression, even if the light is wrong.
- Fix the light direction before the color.
- Grade the color.
- Inspect at full size, not at thumbnail scale.
- Keep the version you like in your history and stop.
Common mistakes
- Mismatched shadow direction. The subject is lit from the left while the background shows light from the right.
- Orange skin. Over-warming, especially on already warm photos.
- Crunchy sharpening. Sharpening a relit image twice.
- A background that belongs to different light. The most obvious tell of all.
- Over-smoothing. Age cues disappear and the subject stops looking like themselves.
Next steps
Take one portrait that you like but that was shot in poor light, relight it toward soft window light, then grade it gently and compare against the original at the same crop. Bylo AI runs these steps in one session and keeps each attempt in your history so you can compare rather than re-run.