Turn Any Photo Into Anime: A Practical Guide
Which photos convert well, how to keep a recognizable likeness, and how to choose between cel-shaded, watercolor, and retro anime looks.
 Bylo AI Team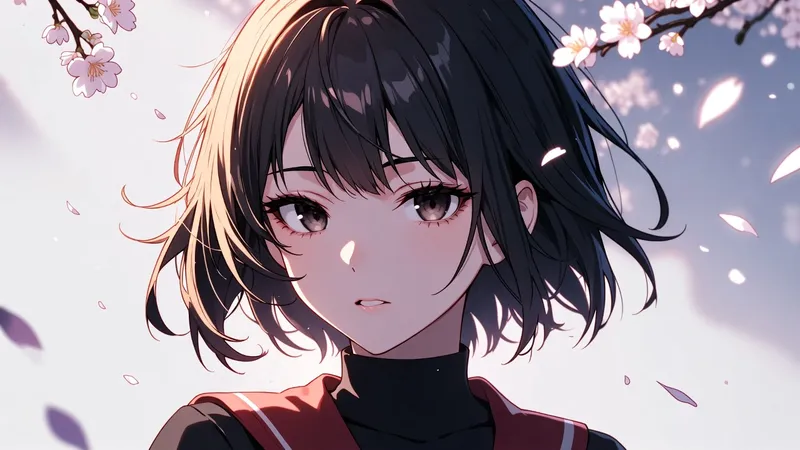
Anime-style conversion is one of the most satisfying things you can do to a photo, and one of the easiest to get wrong. The result depends far more on the source photo you feed it than on the effect you pick. Here is how to choose a good source, get a result that still looks like the person, and decide which art direction suits the picture.
What the effect actually changes
An anime look is not a color filter. The effect flattens shading into a few bands instead of a smooth gradient, simplifies texture, strengthens outlines, and pushes saturation. Hair becomes shapes rather than strands. Skin becomes flat tone with a controlled shadow. Because so much information is discarded, anything ambiguous in the source has to be guessed.
Photos that convert well
- Even, frontal or near-frontal lighting on the face.
- One clear subject, reasonably large in the frame.
- A relatively calm background with few competing details.
- Sharp focus on the face and eyes.
- A neutral expression or a clean smile.
Photos that struggle
- Heavy shadow across half the face, which the effect turns into a hard, odd-looking band.
- Busy backgrounds, which get simplified into strange shapes.
- Small subjects, where the face has too few pixels to interpret.
- Motion blur or missed focus, which becomes an obvious painted smear.
- Several overlapping people, where faces get treated inconsistently.
If a photo fails, the fix is usually to pick another photo rather than to try more settings.
A step-by-step workflow
- Choose the best source you have — well lit, sharp, single subject.
- Apply the anime effect and let it finish.
- Inspect the face first: eyes, hair silhouette, jawline, expression.
- Then check hands, ears, and accessories, which are the usual failure points.
- Finally check the background for melted shapes.
- If the face is good but the background is noisy, consider a version with a simpler background.
- Keep the version you like in your history so you can compare rather than re-run.
Choosing an art direction
- Cel-shaded. Flat color with crisp shadow edges. The closest to a modern animated frame, and the most graphic. Good for strong portraits.
- Watercolor anime. Softer edges, bleeding color, gentle light. Suits landscapes, scenery, and quieter portraits.
- 1990s retro. Slightly muted palette, visible grain, simpler line work. Nostalgic and very forgiving on older photos.
- Soft painterly. Fewer hard outlines, more blended shading. Kind to skin, less graphic.
Pick one and stay with it for a set of images. Mixing directions across a group makes the set look accidental.
Keeping a recognizable likeness
The face is the whole point. Protect it by preserving eye shape, hair silhouette, and the angle of the mouth — those three carry most of the recognition. Avoid settings that enlarge eyes dramatically or sharpen the jaw into a different shape, and always check the result side by side with the original at the same crop. If a stranger would not recognize the person, the stylization has gone too far.
What to do with the results
Anime portraits work well as profile avatars, phone wallpapers, posters, and gifts for friends. Keep one thing in mind: the output is an illustration, not a photograph. Do not present it as a real photo of someone, and if the subject is not you, ask before posting.
A note on style and rights
Art styles are not owned by any one company, but specific characters, logos, and living artists are protected, and their work deserves respect. Use descriptive language for the style you want, keep personal experiments personal, and do not present output as official artwork from any studio or brand.
Common questions
- Do I need a professional photo? No. A well lit phone selfie often converts better than a heavily edited portrait.
- Can I convert a group photo? You can, but expect faces to be treated inconsistently.
- Why does the result look older or younger? Simplification removes fine lines and texture, which tends to smooth age cues.
- Can I fix one detail? Usually it is faster to try another source photo than to chase a single detail.
Next steps
Start with the sharpest, best lit photo you have, run it through two different anime directions, and compare the faces rather than the overall picture. You can do both in one session on Bylo AI and keep the stronger result in your history.