Restore and Colorize Old Family Photos with AI
How to scan a print properly, what AI restoration can and cannot fix, and how to colorize a black-and-white photo without rewriting history.
 Bylo AI Team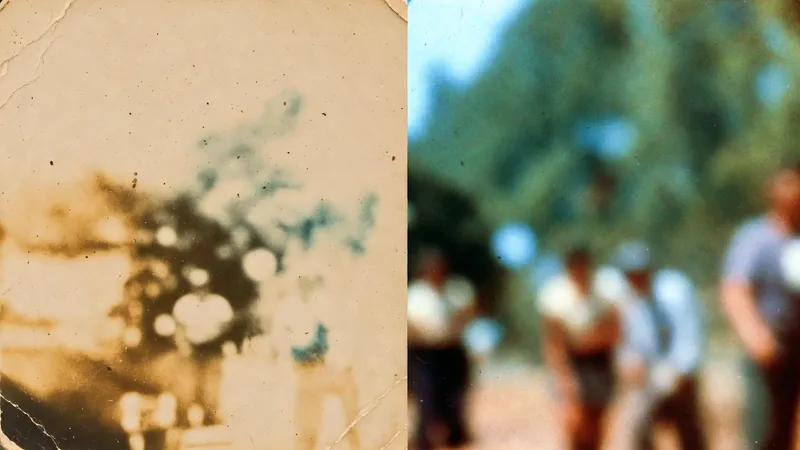
A box of family prints is a finite resource. Once a photo fades or tears, the information in it is gone unless someone makes a good copy. A careful scan followed by AI restoration can bring back a face that had almost disappeared — but only if you treat the original as something to protect rather than something to process.
How prints degrade
- Fading and color shift. Dye layers age at different rates, so prints drift toward yellow, magenta, or cyan.
- Scratches and creases. Physical damage that sits on top of the image.
- Dust, spots, and mold. Common on prints stored in damp boxes or albums.
- Grain and noise. Inherent to film, amplified when a print is scanned badly.
- Structural damage. Tears, missing corners, water stains, and chemical blotches.
Each of these needs a different response, which is why one aggressive pass rarely solves everything.
Scanning tips that decide the outcome
- Scan at the highest optical resolution your device offers, typically several hundred dots per inch for a print.
- Keep the print flat. If it is curled, weight the corners with something clean.
- Avoid flash and direct light, which create glare across a glossy surface and hide detail.
- Use a scanner app on a phone rather than a casual snap if you have no flatbed, and hold the phone parallel to the print.
- Crop only to the edge of the photograph, keeping a small margin.
- Save a lossless master copy — PNG or TIFF — and work from duplicates.
- Label the file with the date, the place, and who is in it while someone still remembers.
What AI restoration handles well
- Denoising and grain reduction.
- Removing dust specks and fine scratches.
- Recovering contrast and tone in a faded image.
- Gentle sharpening that brings back facial detail.
- Upscaling a small scan so it can be printed larger.
- Mild color correction to remove a yellow or magenta cast.
What it cannot reliably do
- Rebuild information that was never captured, such as a face in a blurry background.
- Read an illegible inscription or a distant sign.
- Repair a large missing fragment without inventing content, which is a different and riskier operation than restoration.
- Guarantee historical accuracy when coloring.
Colorizing without rewriting history
Colorization is inference, not recovery. The model guesses skin tones, guesses that a dress was blue, and guesses the color of a car. Some practical rules:
- Expect to correct skin tones by hand afterwards; the first pass is rarely right.
- Ask for natural, muted palettes. Vivid color on old photos reads as fake immediately.
- Keep a separate copy of the black-and-white version, and keep both.
- If you know the real colors from another photo or from memory, note them and aim for that rather than accepting the guess.
- Do not add people, objects, or details that were not in the frame.
Handling group photos and damage
Groups are harder because faces are smaller and skin tones in one image vary with the light at the time. Restore the whole image first, then evaluate each face. For physical damage, work in small steps: clean the overall noise, then repair one tear, then another. Each pass is easier to judge than one combined attempt, and easier to undo mentally if it goes wrong.
Archiving the result
Name the restored file with date, place, and the people in it. Keep the original scan untouched. Store copies in at least two places, one of them off your main device. If the photo matters, print it — a good print survives format changes that have killed every consumer digital format so far.
A before-you-start checklist
- Do you have a lossless scan?
- Have you backed it up somewhere else?
- Do you know the names and approximate date for the file name?
- Is the goal restoration, colorization, or both?
- Are you keeping a black-and-white version?
Next steps
Start with one photo that matters rather than a whole album, and take it slowly through denoise, damage repair, tone recovery, and only then colorization. You can run these steps one at a time on Bylo AI, checking each result against the original before moving to the next.